Search This Blog

Thursday 13 April 2017

Distress Inks Mandala

Hey there tangling friends!


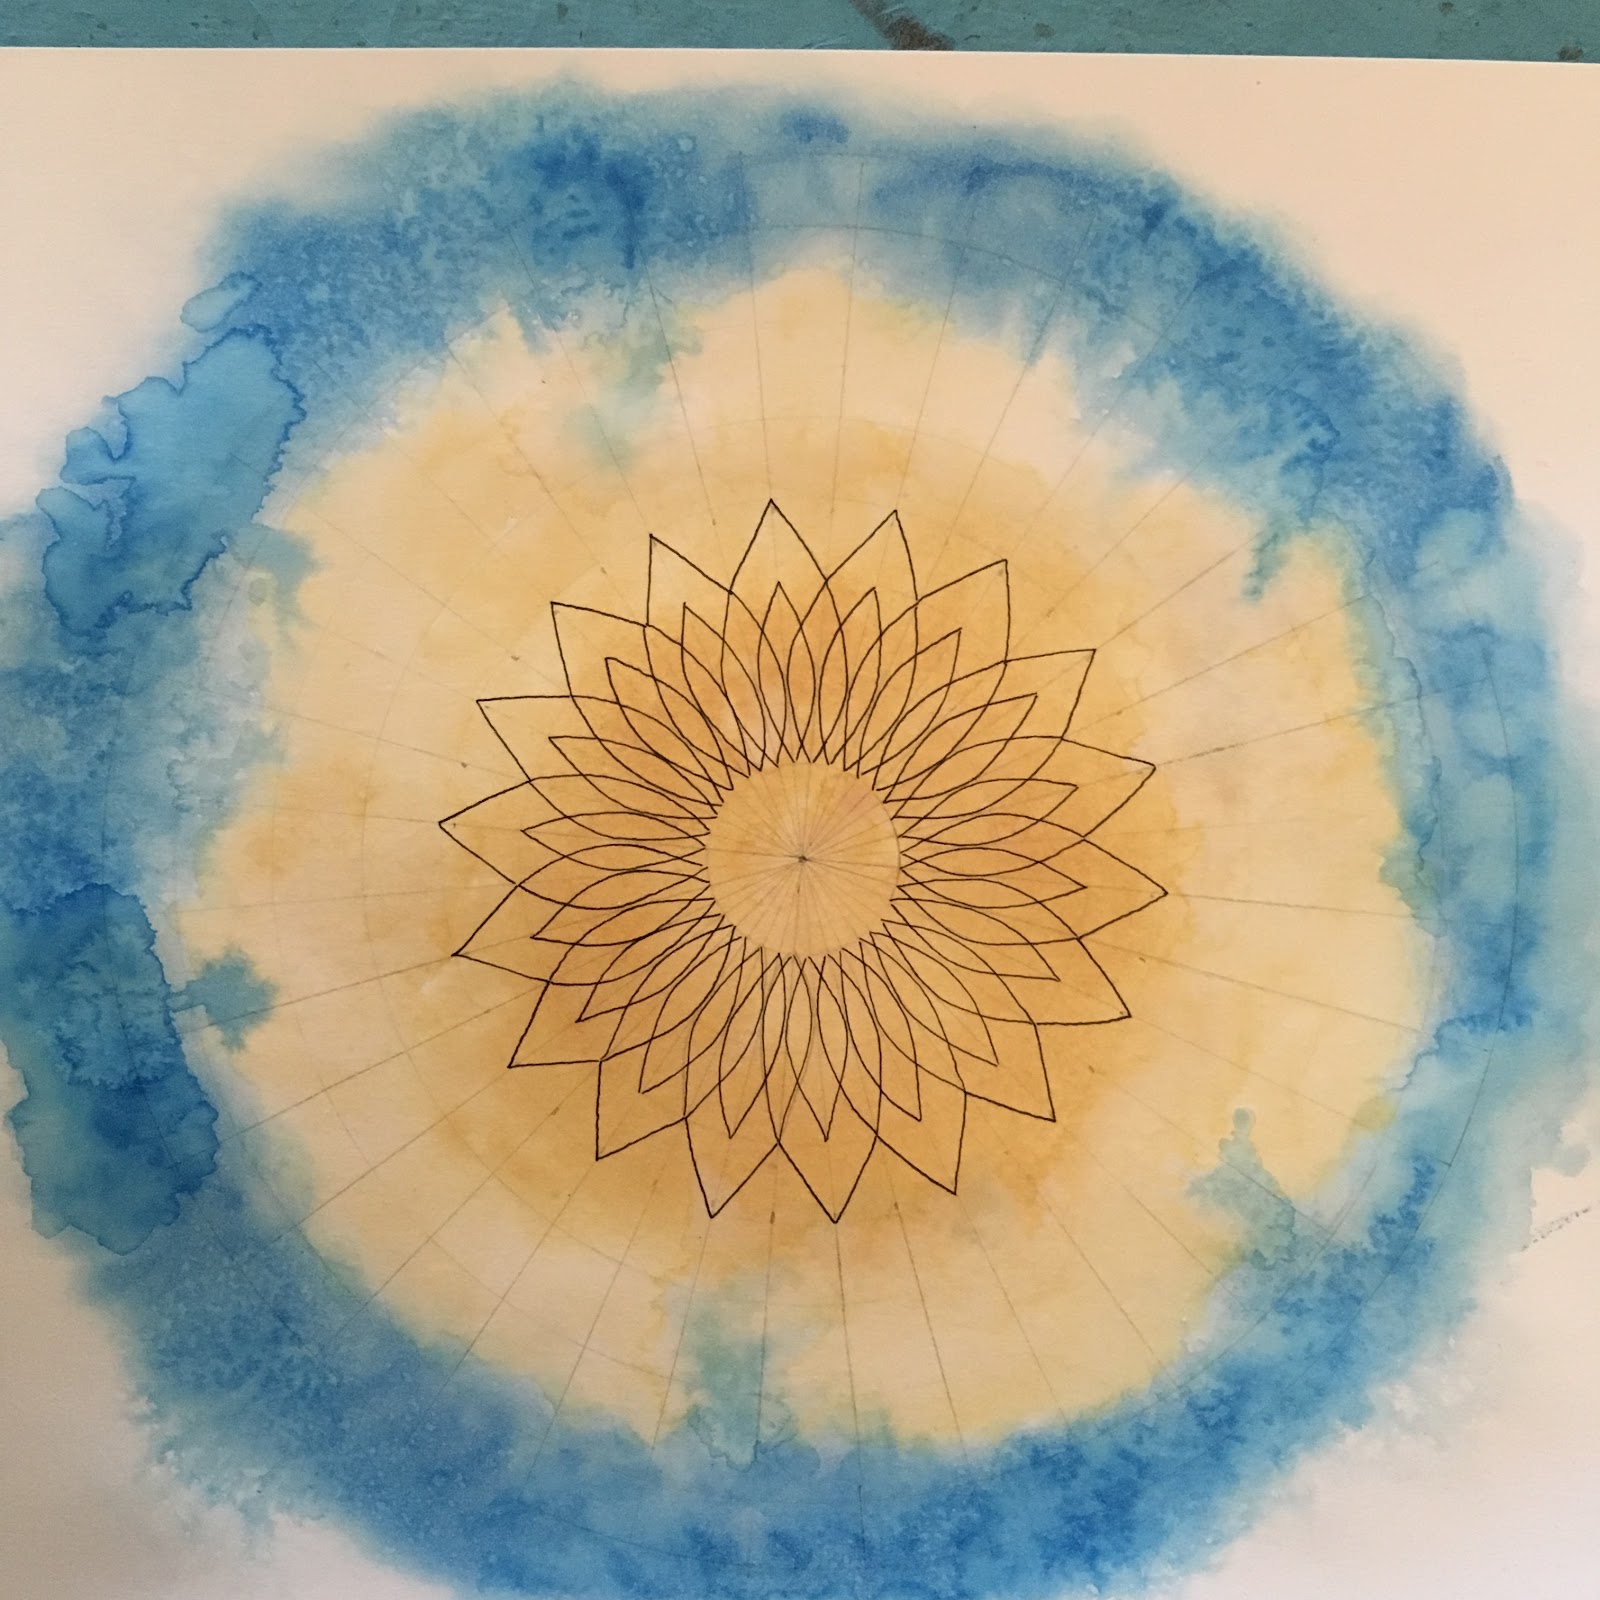
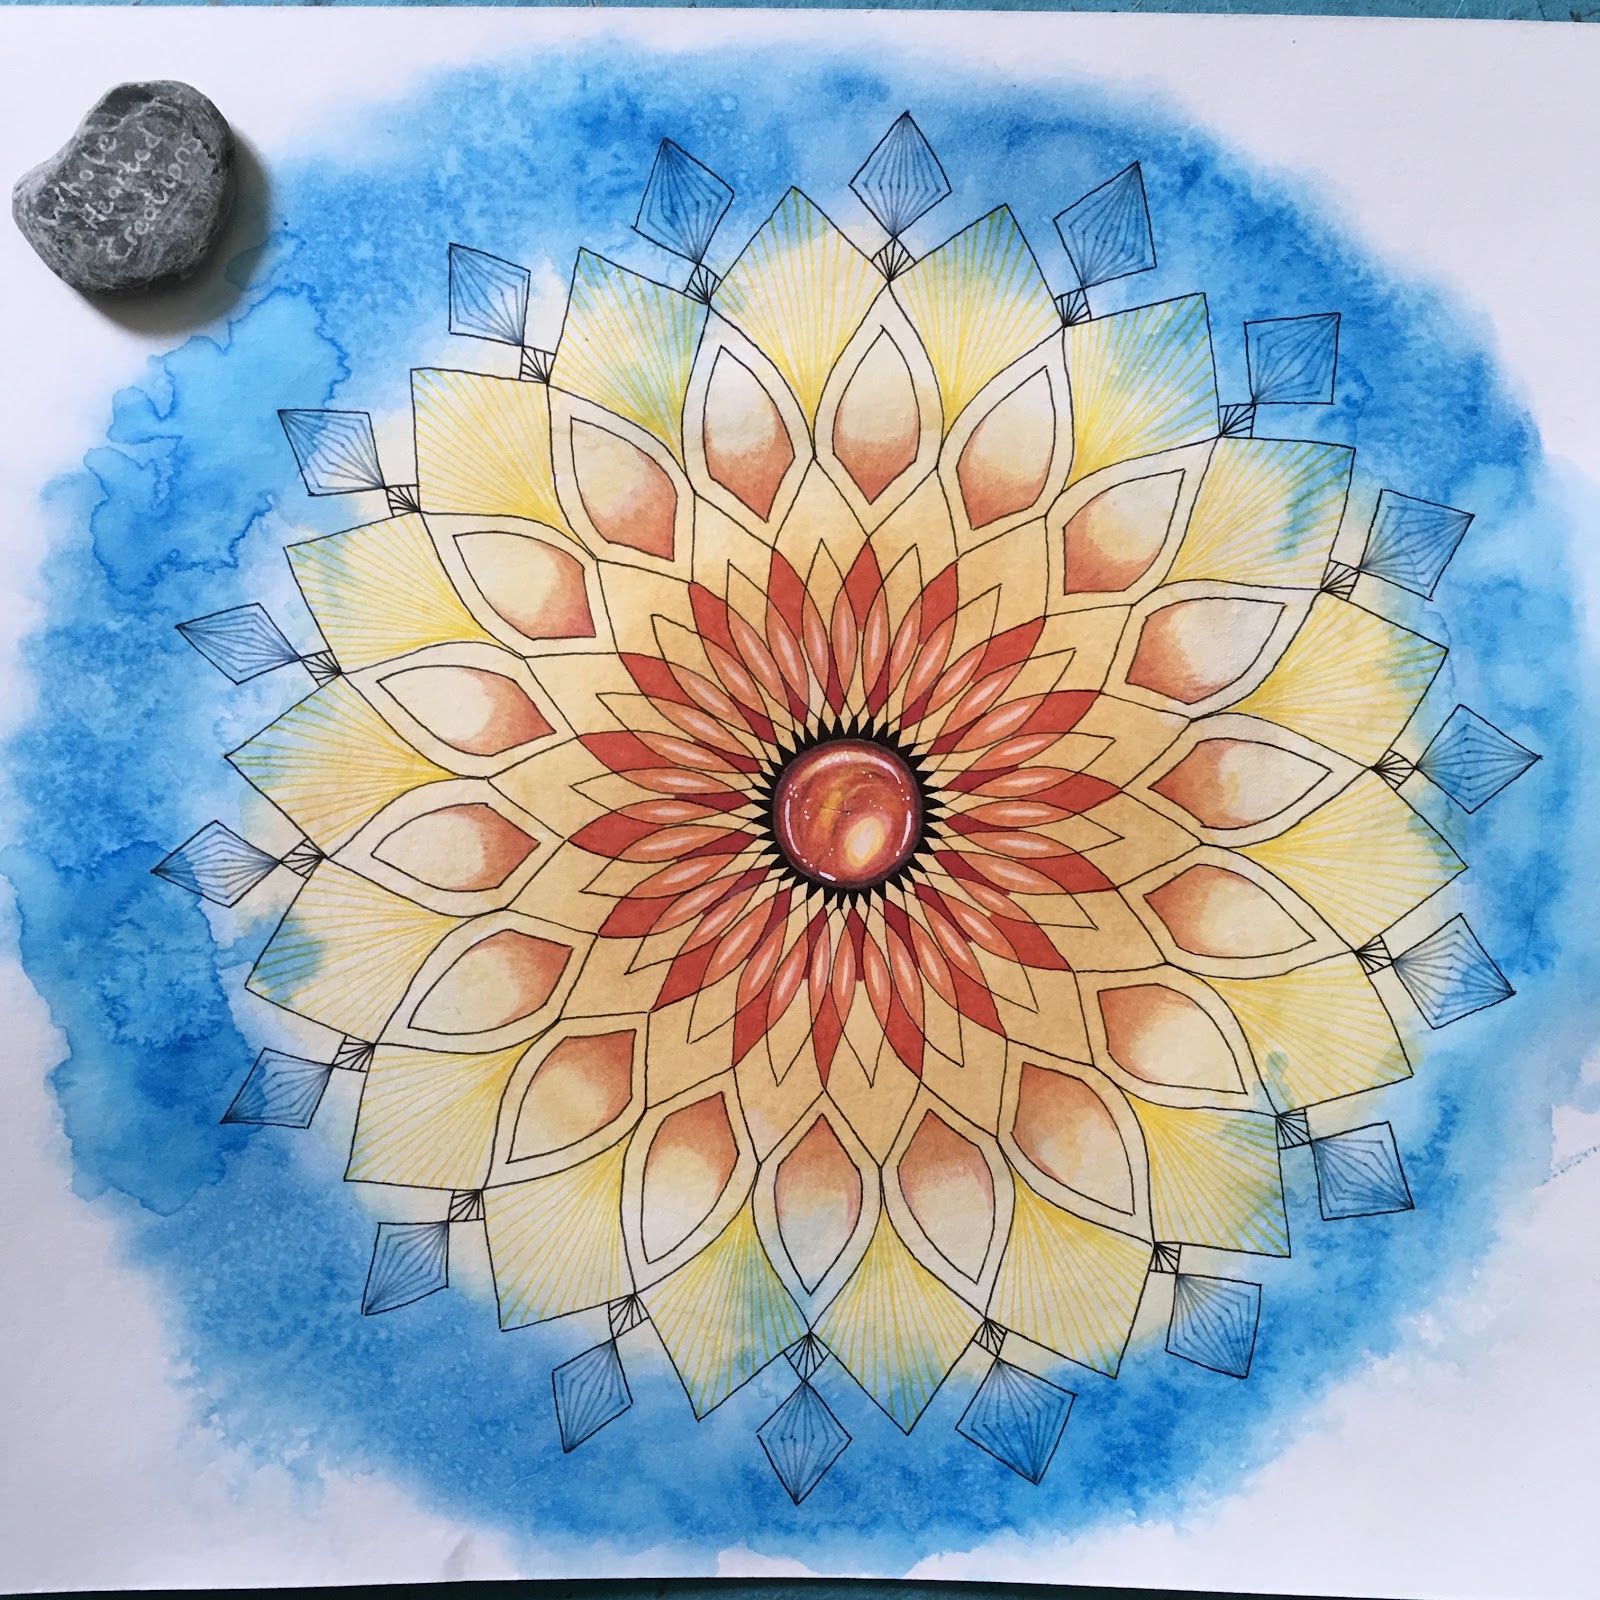
I was feeling a little adventurous and decided to try a mandala on Distress Inks. Using the Bristol Vellum 9x12" 100lb paper again I marked out the circles for the mandala design. I wanted to depict the sun in the sky and, using Salty Ocean, applied the ink directly to the paper by rubbing the pad around the outside of my circle.  I then used a wet paintbrush to spread the ink around to create 'clouds' - this is so easy as the Inks react so much with water.


Then, using Scattered Straw, I rubbed the pad around - making it darker in the middle with more ink. I then spritzed it with water and used the paintbrush again the make the colour really fade out to where it meets the blue sky. I spritzed the whole lot again to get more of the water reaction effect and added some salt for good measure!


And then started drawing my mandala.


Saturday 8 April 2017

Distress Inks #2

Hey there tangling friends!

Slightly different style here...Distress Inks, Markers and Oxide Ink, plus some splashes of gold acrylic paint. With a quote for Holy Week from Matthew. 


Link to previous Distress Inks post here.

Link to my turquoise gem tutorial ebook here.


Sunday 2 April 2017

Distress Ink Exploration

Hey there tangling friends!

I want to share with you what I've been up to recently. I was looking for ways to colour the paper that I use for drawing. I've tried watercolours, but they didn't do what I wanted them to and I didn't want to spend more on better paints if they still wouldn't work for me. So I searched Pinterest, Instagram and Google to see what other people use and discovered Distress Inks by Tim Holtz. I bought a set of four mini pads in my most favourite colours and set about learning what to do with them. There are loads of YouTube tutorials. My first tile just has me using the sponges to lay the ink down and I didn't use water. I went on to ink several different papers and used water and salt on some of them. The salt gives a very mottled effect to the dried finish. 


Here's my first attempts... 


This is the finished tile, with progress shots below.

I have simply blended the ink around the edges. 


I was rather pleased with the way it turned out. I learnt that the Distressed tile makes the fineliners pen bleed, so I needed to use the thinnest one I had - a 0.05 Staedtler fineliner. Using colour pencils is also a bit different - it feels like there are already several layers of pencil there, so I couldn't add a lot more.


My workspace with the supplies I used, including cake decorating stencils.

(See below for the list of supplies)


And then I was so excited when I discovered my local art supply shop, Coleman's, was holding a workshop on the new Distress Oxide Ink pads. They hold loads of workshops and classes, this one was a Make and Take workshop. My daughter and I had great fun making a card, gift box and tag. The Oxide Inks react to water more than the regular ones and dry with a slight shimmer in the middle of the drops. I cannot wait to buy the blue and purple colours when they finally arrive at Coleman's! 

< This is what we made. Unfortunately, the Oxide effect doesn't show up well in the photo.


I had to make do with the normal Distress Inks and the Marker I bought for this afternoon's inky fun! I found an old spray bottle to use for spraying water on the tiles. I also dug out my cake decorating stencils I have to play with too. We bought a few stamps to try out too. I used the special Distress Ink paper and also some Strathmore grey paper tiles.


There was lots of sponging, dabbing, spraying, stamping, flicking, blowing and dripping. And then...waiting...hate that bit! 


Eventually everything was dry and I chose a grey tile that I'd inked with purple and green, to which I'd added a bit of stencilling. I used my Staedtler Triplus fineliners in green and purple to add patterns, plus my usual Unipin black pen. I then used Derwent Coloursoft pencils in green and purple for shading and the gem, adding highlights with a white pencil. Finally I used a little graphite and added some bright highlights with my Gelly Roll. I am so happy with this tile, there were definitely things to do differently next time and things to not do again, but I have thoroughly enjoyed Distressed Saturday and I'm fully Zenned up!


 The linework is finished, onto highlighting, colouring and shading.
 White pencil highlights added.
Colouring and shading.


The finished tiled.


Supplies...
Distress Ink Mini Pads in spun sugar, wilted violet, evergreen bough, scattered straw, salty ocean and shaded lilac.
Distress Ink Marker in tumbled glass
Distress Watercolour Cardstock
Strathmore Grey tile
Staedtler Triplus Fineliners 
Staedtler Unipin fineliner
Derwent Coloursoft pencils 
Derwent graphite

Eni Oken has written a free guide to preparing Distress tiles - find it here.

Find my tutorial on turquoise gems here.

If you're in Central England, find information about Coleman's here.